
Launching a Shopify store can seem daunting at first, but if you break it down into clear, methodical steps—and give each stage proper attention—you’ll be amazed at how smoothly things flow. Below is a comprehensive walkthrough (with extra detail) on how to go from zero to a live Shopify store that’s ready to sell.
1. Understand Shopify & Why It’s a Good Choice
Before diving into the technical setup, it helps to grasp what Shopify is and why many entrepreneurs prefer it.
What is Shopify?
Shopify is a Software-as-a-Service (SaaS) platform tailored for e-commerce. In simple terms, you pay a recurring fee, and Shopify provides the hosting, the backend infrastructure, and a dashboard where you can manage products, orders, themes, and apps—without needing deep coding knowledge.
If you’re planning your store logistics early, check out our guide on the best Shopify shipping apps to simplify fulfilment.
Why many people choose Shopify
- User friendliness: Its interface is intuitive and beginner-friendly.
- Scalability: It can serve small startups as well as large-scale operations.
- App ecosystem: There are thousands of apps (free and paid) to extend your store’s functionality.
- Reliability & support: Shopify handles server issues, ensures uptime, and provides support.
- Built-in e-commerce features: Things like product variants, promotions, discount codes, and more are baked in or easily added.
Understanding these advantages helps you move forward confidently, knowing the limitations and strengths of the platform.
2. Plan Before You Build
Before setting up your store, do some groundwork. This planning helps avoid pitfalls later.
- Choose a niche or product focus
Don’t try to sell everything at once. Pick a product line or niche where you can communicate a clear value to customers. - Validate your idea
Use tools like Google Trends, competitor analysis, or small ads to test whether people are interested in what you plan to sell. - Decide your business model
Will you hold inventory (traditional e-commerce), dropship, use print-on-demand, or sell digital products? Your choice affects how you handle fulfillment, shipping, and suppliers. - Branding basics
Pick a brand name, logo, tagline, color palette, and tone. Think about how you want customers to perceive your store. - Budgeting
Lay out your expected costs: domain, monthly Shopify plan, theme, apps, marketing, shipping, etc.
Once your foundation is laid, you’re ready to start building the store itself.
3. Create a Shopify Account
This is where the actual building begins.
Go to Shopify’s website and sign up for their trial (they often run promotions, e.g. reduced price for the first few months).
Enter your email, password, and store name (this “store name” becomes part of your initial Shopify domain, e.g. yourstorename.myshopify.com).

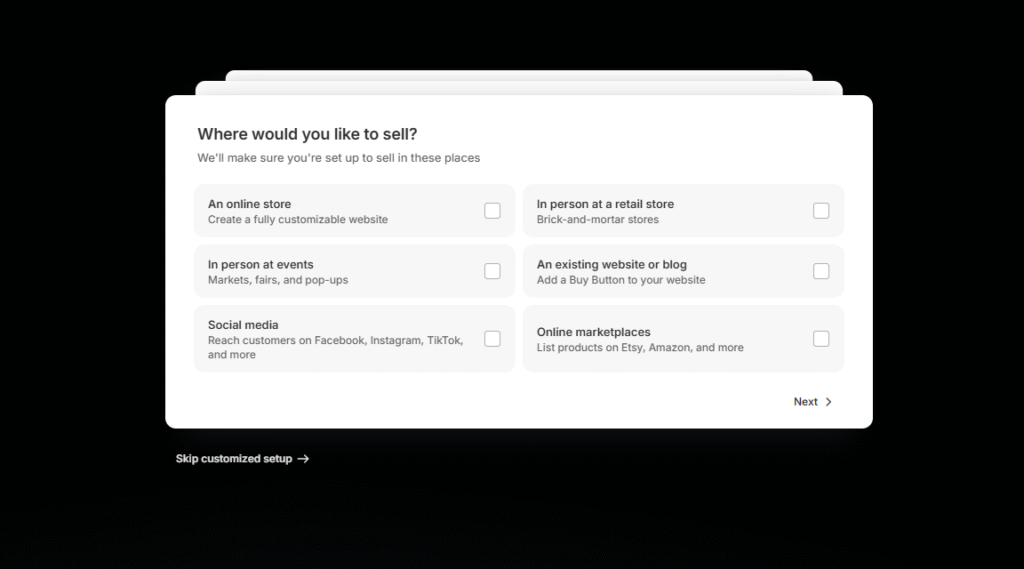
Shopify may ask a few setup questions (what you plan to sell, location, etc.). You can answer them or skip if you prefer.
Choose a Shopify plan (you can often start with a basic plan and upgrade later).

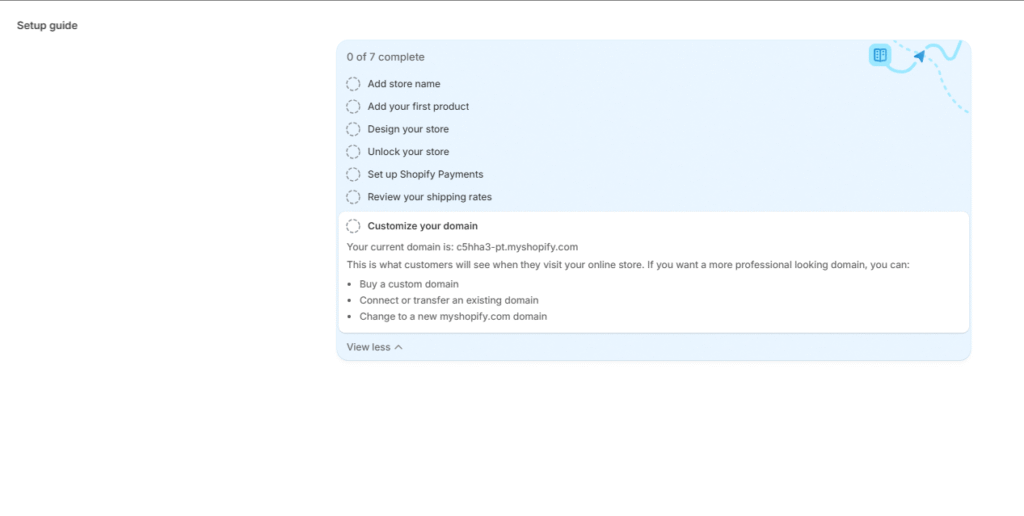
At the end of this, you gain access to your Shopify admin dashboard, the control center where all actions will happen.
4. Connect or Purchase Your Domain
Your domain (e.g. yourbrand.com) is the address customers will use to find your store. Using a custom domain is more professional than relying on the default *.myshopify.com address.
If you already own a domain
Go to Settings → Domains → Connect existing domain in Shopify. Then, log into your domain provider (GoDaddy, Namecheap, etc.) and adjust the DNS records—point the A record and CNAME as Shopify instructs. Then back in Shopify, verify the domain.
If you don’t have a domain yet
You can purchase one directly in Shopify (or via a registrar) and Shopify will automatically set it up for you. Prices usually range from $10 to $30/year, depending on the TLD and demand.
Tips
- Choose a domain that’s easy to spell, remember, and brandable.
- Prefer
.comor country-specific extensions depending on your target market. - Avoid hyphens, numbers, or overly long names if possible.
Once done, your store visitors will see a polished, professional URL instead of the default Shopify address.
5. Add Products & Organize Them
This is one of the heartbeats of your store: your catalog.
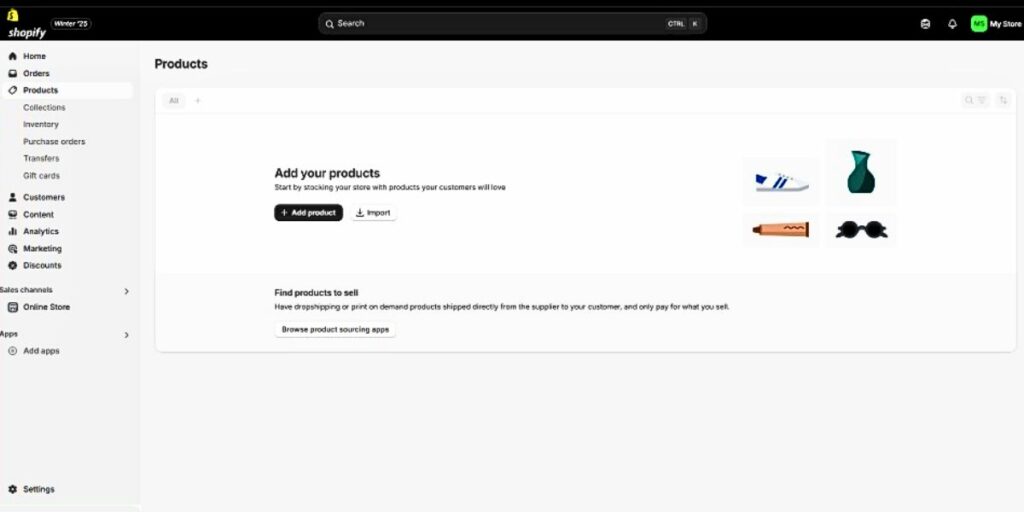
5.1 Add Products
You have two main methods to add products:
Manual entry (for smaller catalogs)
Navigate to Products → Add product in your Shopify admin. Fill in product name, description, images, price, inventory, variants (size, color, etc.), and weight (for shipping calculations).
Key tips:
- Use high-quality images and, if possible, multiple angles.
- Write compelling, benefit-driven descriptions (not just features).
- If your product has variants, link each variant to its correct image (so when customers pick “Red / Medium,” they see the red image).
- Ensure you set the weight and SKU if needed—these impact shipping and inventory.
Bulk import via CSV
If you already have many products (or migrating from another platform or supplier), using a CSV template is faster. Go to Products → Import, upload the CSV, preview, and import. Make sure your CSV follows Shopify’s format (column names, variant handling, etc.).
5.2 Organize Products (Collections)
As your catalog grows, navigation becomes important.
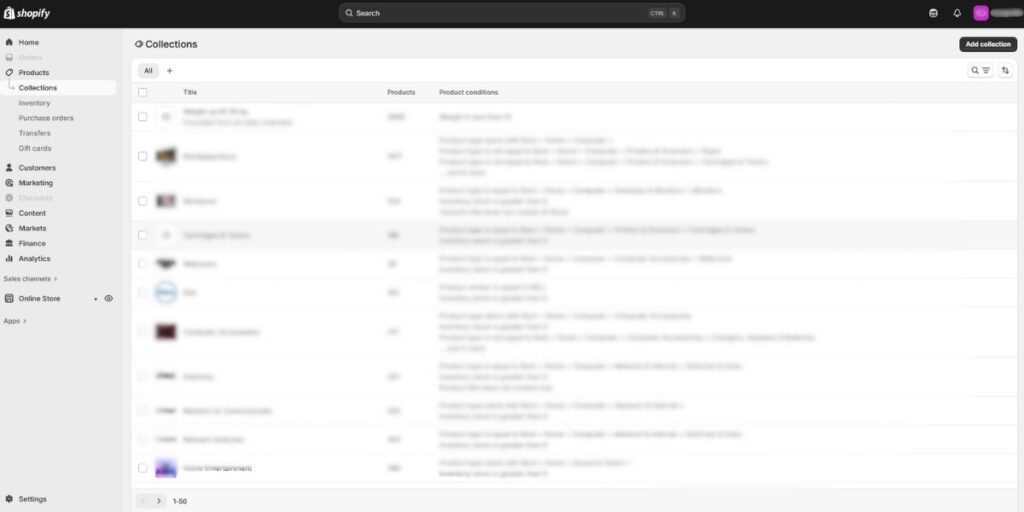
- Create collections (sometimes called categories) so customers can browse by theme, style, price range, or any grouping logic you prefer.
- In Shopify, you can make manual collections (you pick which products go into them) or automated collections (set rules—e.g. all products under $50 automatically go into “Budget” collection).
- Give each collection a name, description (keyword-friendly), and cover image.
Well-organized collections help with user navigation and also support search engine optimization (SEO).
6. Set Up Navigation & Menus
A great product catalog won’t help if visitors can’t find it.

- Shopify provides at least two menus: Main menu (header) and Footer menu.
- Under Online Store → Navigation, you can add/edit these menus, link to collections, pages, product pages, blog posts, or external URLs.
- Use dropdown menus (nested menus) to group related items under one parent (e.g. “Men → Clothing → Shirts”).
- Be strategic—don’t overwhelm users with too many top-level menu items. A guideline is 5 to 7 main items max on the top menu. Too many choices lead to decision paralysis.
The goal: visitors should reach any part of your store in just a few clicks.
7. Customize the Look & Feel (Theme & Design)
This is where your brand comes alive. The theme dictates layout, typography, color schemes, and how elements appear and behave.

- In Shopify Admin → Online Store → Themes, pick or switch a theme. Shopify offers free themes as well as premium (paid) ones.
- After you choose or install a theme, click Customize.
- Shopify’s theme editor gives a live preview and lets you modify sections (header, footer, homepage, product layout) in a visual way—drag, reposition, hide/show sections.
Important design tips:
- Mobile-first design: Always check how the site looks on mobile (phones, tablets). Most users browse via mobile, so make sure buttons, images, and layouts adjust well.
- Image optimization: Large image files slow down your site. Use compressed images (e.g. WebP format, or resized JPEG/PNG) to keep loading fast.
- Consistent branding: Use your brand’s color palette and fonts consistently across pages.
- Clear sections: Don’t clutter—use whitespace, readable headings, clear CTAs (Call to Action) like “Buy Now,” “Add to Cart,” etc.
- Theme switching caution: If you change themes later, you may need to re-configure some settings or sections; don’t expect a perfect transition without tweaking.
8. Configure Payments & Checkout Experience
Now you need to decide how customers will pay you, and how streamlined their checkout will be.
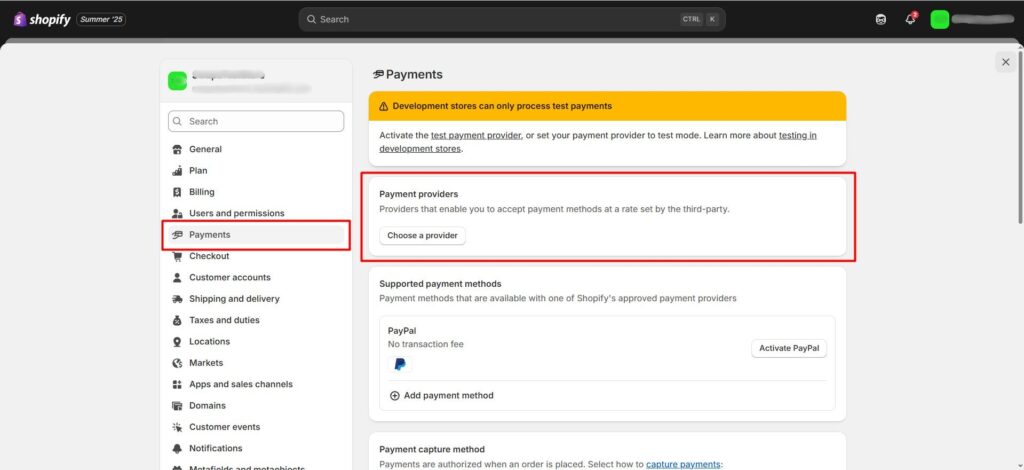
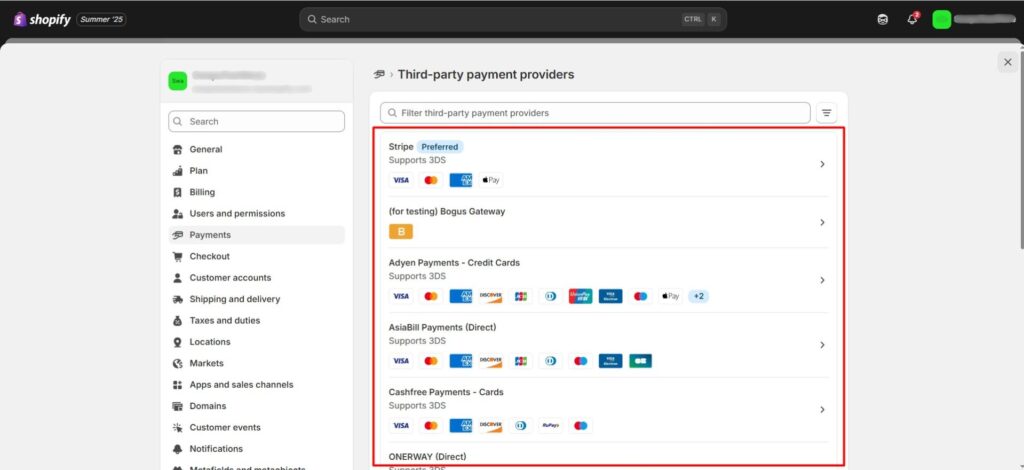
- Go to Settings → Payments to pick payment gateways.
- Under Settings → Checkout, decide what information to collect (email, phone, shipping address), whether to enable guest checkout (without account), show “order summary,” ask for emails/SMS subscriptions, or even add tips/gift wrap options.
- Simpler checkouts (fewer fields, fewer steps) tend to convert better because they reduce friction.
9. Set Up Taxes & Shipping Rates
These two settings ensure your store runs legally and that customers get accurate costs.
9.1 Taxes
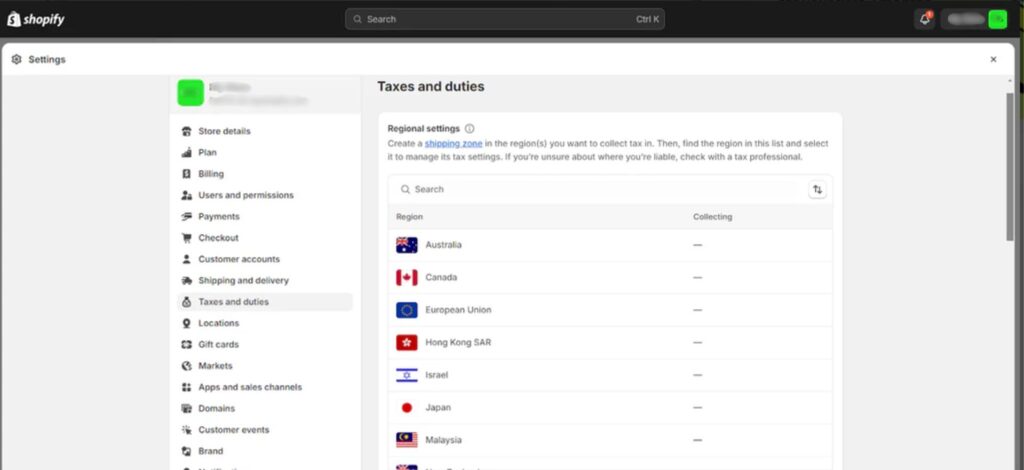
- Under Settings → Taxes, input the tax rates for your location(s).
- Depending on your Shopify plan, you may also enable duty & import tax collection for international orders so customs fees are prepaid by the buyer.
- Be aware of local regulations: in many places, you’ll need to comply with GST, VAT, or sales tax laws. Consult a local accountant if necessary.
9.2 Shipping
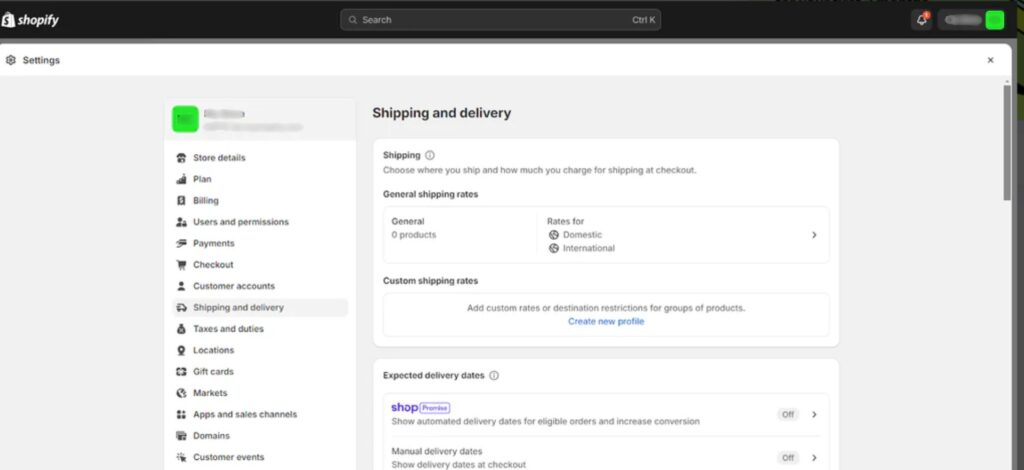
- In Settings → Shipping & Delivery, define your shipping zones (regions you ship to) and rates (flat rate, calculated rate, free shipping).
- You might offer free shipping above a certain cart value (e.g. “Free shipping on orders over $50”) to encourage bigger carts.
- If your plan or apps allow, integrate real-time shipping rates from courier services (so customers see the actual cost).
- You can also create shipping profiles for products that need special handling (heavy items, fragile, etc.).
10. Test Everything & Launch Your Store
Before you open your store to the public, run thorough tests.
- Place a test order (or use Shopify’s “Bogus Gateway” mode) to simulate the purchase flow. Check everything: cart, checkout, confirmation emails, payment flow, tax and shipping calculations.
- Check broken links, missing images, UI glitches across devices (desktop, mobile).
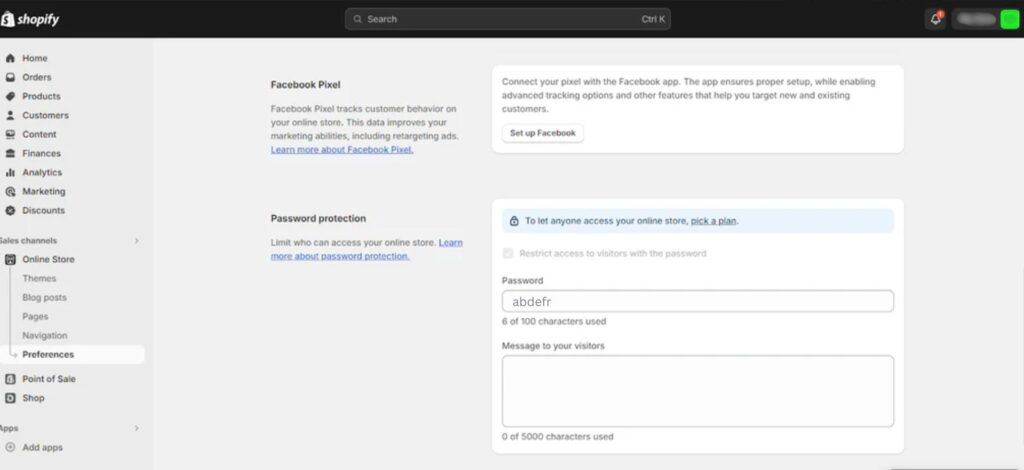
- Once you’re confident, remove the password protection (Settings → Online Store → Preferences → uncheck “Restrict access with password”) so the public can visit.
- Do a final sweep for SEO: meta titles, descriptions, alt text on images, URL structure.
11. Promote, Drive Traffic & Optimize for Conversion
A live store is just the start. Now you must attract visitors and turn them into customers.
11.1 Marketing & Traffic Channels
- Paid ads: Use Google Ads, Facebook/Instagram Ads, TikTok, etc. Start small, test creatives, track results, and scale what works.
- Email marketing: Build a welcome series, abandoned cart reminders, post-purchase follow-up.
- Social media: Create content, engage your audience, collaborate with influencers or micro-influencers in your niche.
- SEO / content marketing: Maintain a blog, optimize your product pages for keywords, get backlinks, and build organic traffic over time.
- Offers & discounts: Use seasonal sales, flash sales, bundles, discount codes to incentivize purchase.
11.2 Conversion Rate Optimization (CRO)
- Track metrics: bounce rate, conversion rate, cart abandonment rate, average order value (AOV).
- Test (A/B testing) different layouts, copy, colors, buttons to see what converts better.
- Use trust signals: reviews, security badges, clear return policy, customer testimonials.
- Optimize load speeds: slow pages kill conversions.
12. Budget & Ongoing Costs
It’s important to know what you’ll be paying monthly/yearly so you don’t get surprised.
Some of the typical costs include:
| Expense | Estimate / Range |
|---|---|
| Shopify subscription | From ~$29 to several hundred dollars/month (for advanced plans) |
| Domain registration | ~$10–$30/year (or more for premium domains) |
| Theme (if premium) | One-time cost (could range from $0 for free themes up to $200–$300 or more) |
| Apps / plugins | Many are free, but advanced ones may cost $5–$100+ per month |
| Transaction fees | Some gateways charge 2–3% + fixed amount per order |
| Marketing / ads | Depends on your scale — you’ll need budget here |
| Design / development (if outsourcing) | Variable, depending on complexity |
For most new stores, starting small and upgrading as you scale is the safe route.
Bonus Tips & Common Pitfalls
- Always back up your product CSV and theme settings before making big changes.
- Don’t overload your store with too many apps at once; each app can slow down your site.
- Keep an eye on page load time; fast sites tend to retain more visitors.
- Use high-quality imagery—professional or well-edited product photos.
- Provide clear, friendly customer support (email, chat, phone) to build credibility.
- Make your return/refund policy easy to find and understand.
- Continuously analyze your data (Google Analytics, Shopify analytics) and adjust based on what’s working and what’s not.
Conclusion
Launching a Shopify store is a journey—from planning to designing to marketing—but by tackling it step by step, it becomes manageable. Use this guide as your roadmap, customize it for your brand, and continuously iterate and improve based on feedback and data.